
Discover the ins and outs of garage door opener limit switch programming with our detailed guide. Learn how to install garage doors and openers, insulate, and lock them manually. This comprehensive article provides actionable tips for Canadian homeowners, ensuring your garage door operates smoothly.
Understanding Garage Door Opener Limit Switches
Garage door opener limit switches play a crucial role in the operation of your garage door. These switches determine how far the door opens or closes, ensuring that it functions smoothly and safely. Understanding how to program and adjust these switches can save you time and money, preventing potential damage to the door or opener.
What Is a Garage Door Opener Limit Switch?
A garage door opener limit switch is a device that tells the garage door opener when to stop moving the door. It ensures that the door opens and closes completely without any issues. If the limit switch is not set correctly, your door might not open or close fully, which can lead to security risks and operational problems.
Why Proper Programming Matters
Programming your garage door opener’s limit switches correctly is essential for several reasons:
- Safety: Prevents the door from closing on objects or people.
- Efficiency: Ensures the door operates smoothly without unnecessary strain on the opener.
- Longevity: Reduces wear and tear on both the door and the opener, prolonging their lifespan.
Steps to Program Your Garage Door Opener Limit Switch
Programming the limit switch typically involves adjusting the settings on the garage door opener unit. Here’s how you can do it:
Step 1: Locate the Limit Switch Adjustment Screws
The limit switch adjustment screws are usually found on the side of the garage door opener motor unit. These screws are often labelled ‘up’ and ‘down,’ indicating the direction of adjustment for the door’s travel.
Step 2: Adjust the Open Limit
To adjust how far the door opens, turn the ‘up’ limit adjustment screw. Turn the screw clockwise to decrease the distance the door opens, and counterclockwise to increase it. Test the door after each adjustment to ensure it opens correctly.
Step 3: Adjust the Close Limit
Similar to the open limit, adjust the ‘down’ limit screw to control how far the door closes. Again, clockwise will decrease the closing distance, and counterclockwise will increase it. Test the door to ensure it closes properly without gaps.
Testing the Adjustments
After making adjustments, perform a test run of your garage door. Open and close the door several times to ensure it stops at the correct points. If you notice any issues, such as the door not closing completely or reversing unexpectedly, further adjustments may be necessary.
Common Issues with Limit Switch Programming
Despite careful programming, you might encounter some common issues with your garage door opener limit switches. Understanding these problems and how to address them can help maintain the smooth operation of your garage door.
Door Not Closing Fully
If your garage door doesn’t close all the way, it may be due to an improperly set limit switch. Double-check your ‘down’ limit adjustment and make the necessary corrections. Also, inspect for any obstructions or damages to the door tracks.
Door Reverses Before Closing
This issue might indicate that the ‘down’ limit is set too far. Adjust the limit switch to a closer setting and test again. Additionally, ensure that the safety sensors are aligned and free from obstruction.
Door Opens Too Far
When the garage door opens beyond its intended limit, it could put unnecessary stress on the opener and door. Check the ‘up’ limit switch and adjust accordingly. Make sure to test the door after each adjustment.
Professional Assistance
If you encounter persistent issues with your limit switch programming, it may be time to seek professional help. At Fix Experts, our certified technicians can assist with troubleshooting and repair, ensuring your garage door operates safely and efficiently.
Additional Garage Door Installation Tips
While understanding limit switch programming is critical, there are several other aspects of garage door installation and maintenance that homeowners should consider. Here are some additional tips to ensure your garage door remains in top condition:
Installing a Garage Door Opener
Installing a garage door opener can seem daunting, but with the right tools and instructions, it can be a manageable task. Ensure you have all necessary components and follow the manufacturer’s instructions carefully. If you need expert installation, contact our certified technicians at Fix Experts.
Sealing and Weather Stripping
Proper sealing and weather stripping are essential for energy efficiency and protection against the elements. Learn how to install garage door seal and weather stripping to keep your garage insulated and secure.
Manual Locking Mechanisms
Knowing how to lock your garage door manually can be crucial in emergencies or power outages. Familiarize yourself with the manual lock system on your garage door for added security.
Regular Maintenance
Routine maintenance is key to extending the life of your garage door and opener. Regularly inspect and lubricate moving parts, check for wear and tear, and keep the tracks clean. For comprehensive maintenance services, learn more about our maintenance services.
By following these guidelines and seeking professional help when needed, you can ensure the smooth and efficient operation of your garage door for years to come. Stay tuned for more expert advice and tips in our continued coverage of garage door essentials.
How to Install Garage Doors and Openers
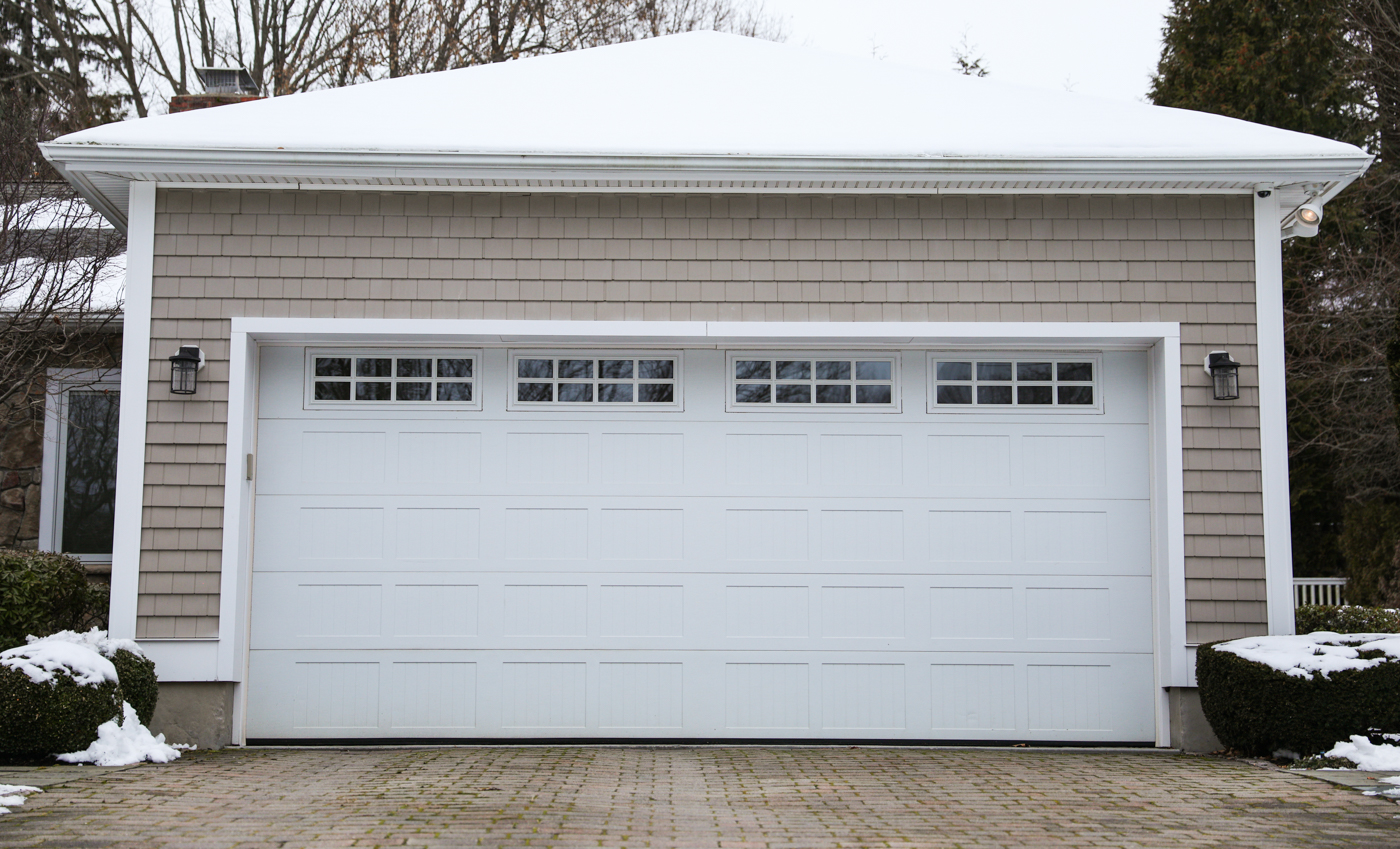
Installing a garage door or its opener can transform the functionality and aesthetic of your home. Whether you are a DIY enthusiast or prefer professional assistance, understanding the basics of installation is crucial.
Preparation and Tools Needed
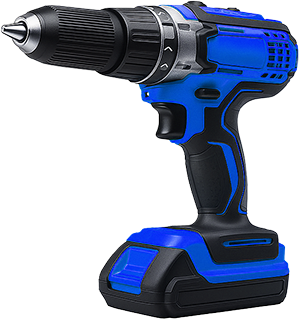
Before starting the installation process, gather all necessary tools. Typically, you’ll need a ladder, power drill, level, pliers, and screwdrivers. Additionally, ensure you have the garage door kit and opener unit, as well as any manuals provided by the manufacturer. Proper preparation helps streamline the process, reducing the likelihood of errors.
Step-by-Step Installation of a Garage Door
Installing a garage door involves several key steps:
- Assemble the Door: Begin by laying out all sections of the garage door. Assemble them on the floor, ensuring each section aligns correctly.
- Install Tracks and Rollers: Attach the tracks on either side of the doorway. Secure them with brackets and slide in the rollers.
- Mount the Hinges: Secure the hinges to each panel, connecting them as you build the door upwards.
- Spring System Setup: This is a critical and potentially dangerous step. If you’re unsure about handling springs, consider hiring professionals from our installation team.
Carefully follow the manufacturer’s instructions, and don’t hesitate to seek professional help if necessary.
Installing the Garage Door Opener
After the door itself is installed, it’s time to tackle the garage door opener. Here’s a simplified overview:
- Position the Opener: Attach the opener unit to the ceiling, ensuring it aligns with the centre of the door.
- Connect to the Door: Secure the opener’s arm to the door bracket, ensuring a firm attachment.
- Install Sensors and Controls: Align the safety sensors near the ground on either side of the door. Mount the control box in a convenient location.
Consult your opener’s manual for specific instructions tailored to your model. For professional guidance, contact our certified technicians at Fix Experts.
Sealing and Insulating Your Garage Door
Proper sealing and insulation are essential to maintain a comfortable temperature in your garage and protect it from Canadian weather conditions. This can also lower energy costs and prevent unwanted drafts.
How to Install Garage Door Seal
Sealing your garage door involves attaching a bottom seal or weather stripping. This creates a barrier against water, dust, and pests. Here’s how:
- Clean the Surface: Start by cleaning the bottom edge of the garage door to ensure the seal adheres properly.
- Measure and Cut: Measure the door’s width and cut the seal to fit.
- Attach the Seal: Use adhesive or screws to attach the seal along the bottom of the door. Ensure it fits snugly without gaps.
How to Install Garage Door Weather Stripping
Weather stripping enhances insulation by sealing gaps around the door. To install it:
- Choose the Right Material: Opt for vinyl or rubber stripping for durability against harsh Canadian climates.
- Measure and Trim: Measure the sides and top of the door frame, then cut the stripping to size.
- Secure the Stripping: Attach the stripping along the door frame, pressing firmly to ensure a tight seal.
How to Insulate a Garage Door
Insulating your garage door can significantly improve energy efficiency. Here’s a simple guide:
- Select Insulation Material: Reflective foil, foam boards, or fibreglass batting are common choices.
- Cut to Size: Measure each panel of the garage door and cut the insulation to fit.
- Secure the Insulation: Attach the insulation using adhesive or clips, ensuring it fits snugly within each panel.
The Benefits of Insulation
Insulating your garage door not only helps maintain temperature but also reduces noise and strengthens the door structure. For comprehensive installation services, consider consulting with our team for expert advice and assistance.
How to Link Your Garage Door to Your Car
Many modern vehicles come with built-in systems that allow you to link your garage door opener, providing convenience and security. Here’s how you can achieve this:
Using the Car’s Built-in System
Most vehicles with this feature will have a button panel in the overhead console. Here’s how to set it up:
- Clear Previous Codes: Hold the first and last buttons on the panel until the indicator light blinks, clearing any previous settings.
- Program the Button: Press and hold the button you wish to program while simultaneously pressing the remote control button until the light changes.
- Sync with Opener: Press the ‘learn’ button on the garage door opener unit, then return to the car and press the programmed button twice.
Benefits of Linking to Your Car
Linking your garage door opener to your car enhances convenience and security. If you encounter any issues, our professional garage door repair services can assist with troubleshooting and setup.
How to Lock Your Garage Door Manually
Understanding how to manually lock your garage door is crucial, especially during power outages or emergencies. Here’s a simple guide:
Using the Manual Lock Mechanism
Most garage doors are equipped with a manual lock, which can be engaged as follows:
- Locate the Lock: Find the manual lock on the inside of the garage door, typically a slide bolt.
- Engage the Lock: Slide the bolt into the locking bracket on the door frame.
- Test the Lock: Ensure the door is securely locked by attempting to lift it from the outside.
Additional Security Measures
For added security, consider installing a security bar or using a padlock on the inside track. These simple measures can significantly enhance the safety of your garage.
When to Seek Professional Help
If you experience any difficulties with locking mechanisms or other garage door components, don’t hesitate to reach out to our repair services for expert assistance.
Conclusion
From understanding and programming your garage door opener limit switches to sealing, insulating, and securing your garage door, each step is vital for the efficient and safe operation of your garage. While many homeowners can tackle these tasks independently, professional assistance from Fix Experts ensures reliable and lasting results. Whether you’re installing a new system or maintaining an existing one, our team is here to help keep your garage in peak condition, tailored to the unique demands of Canadian homes. For any installation or repair needs, contact us today and experience the expertise and service that distinguishes us as your trusted partner in garage door solutions.